Buckwheat Miso Brownies With Hazelnut Butter
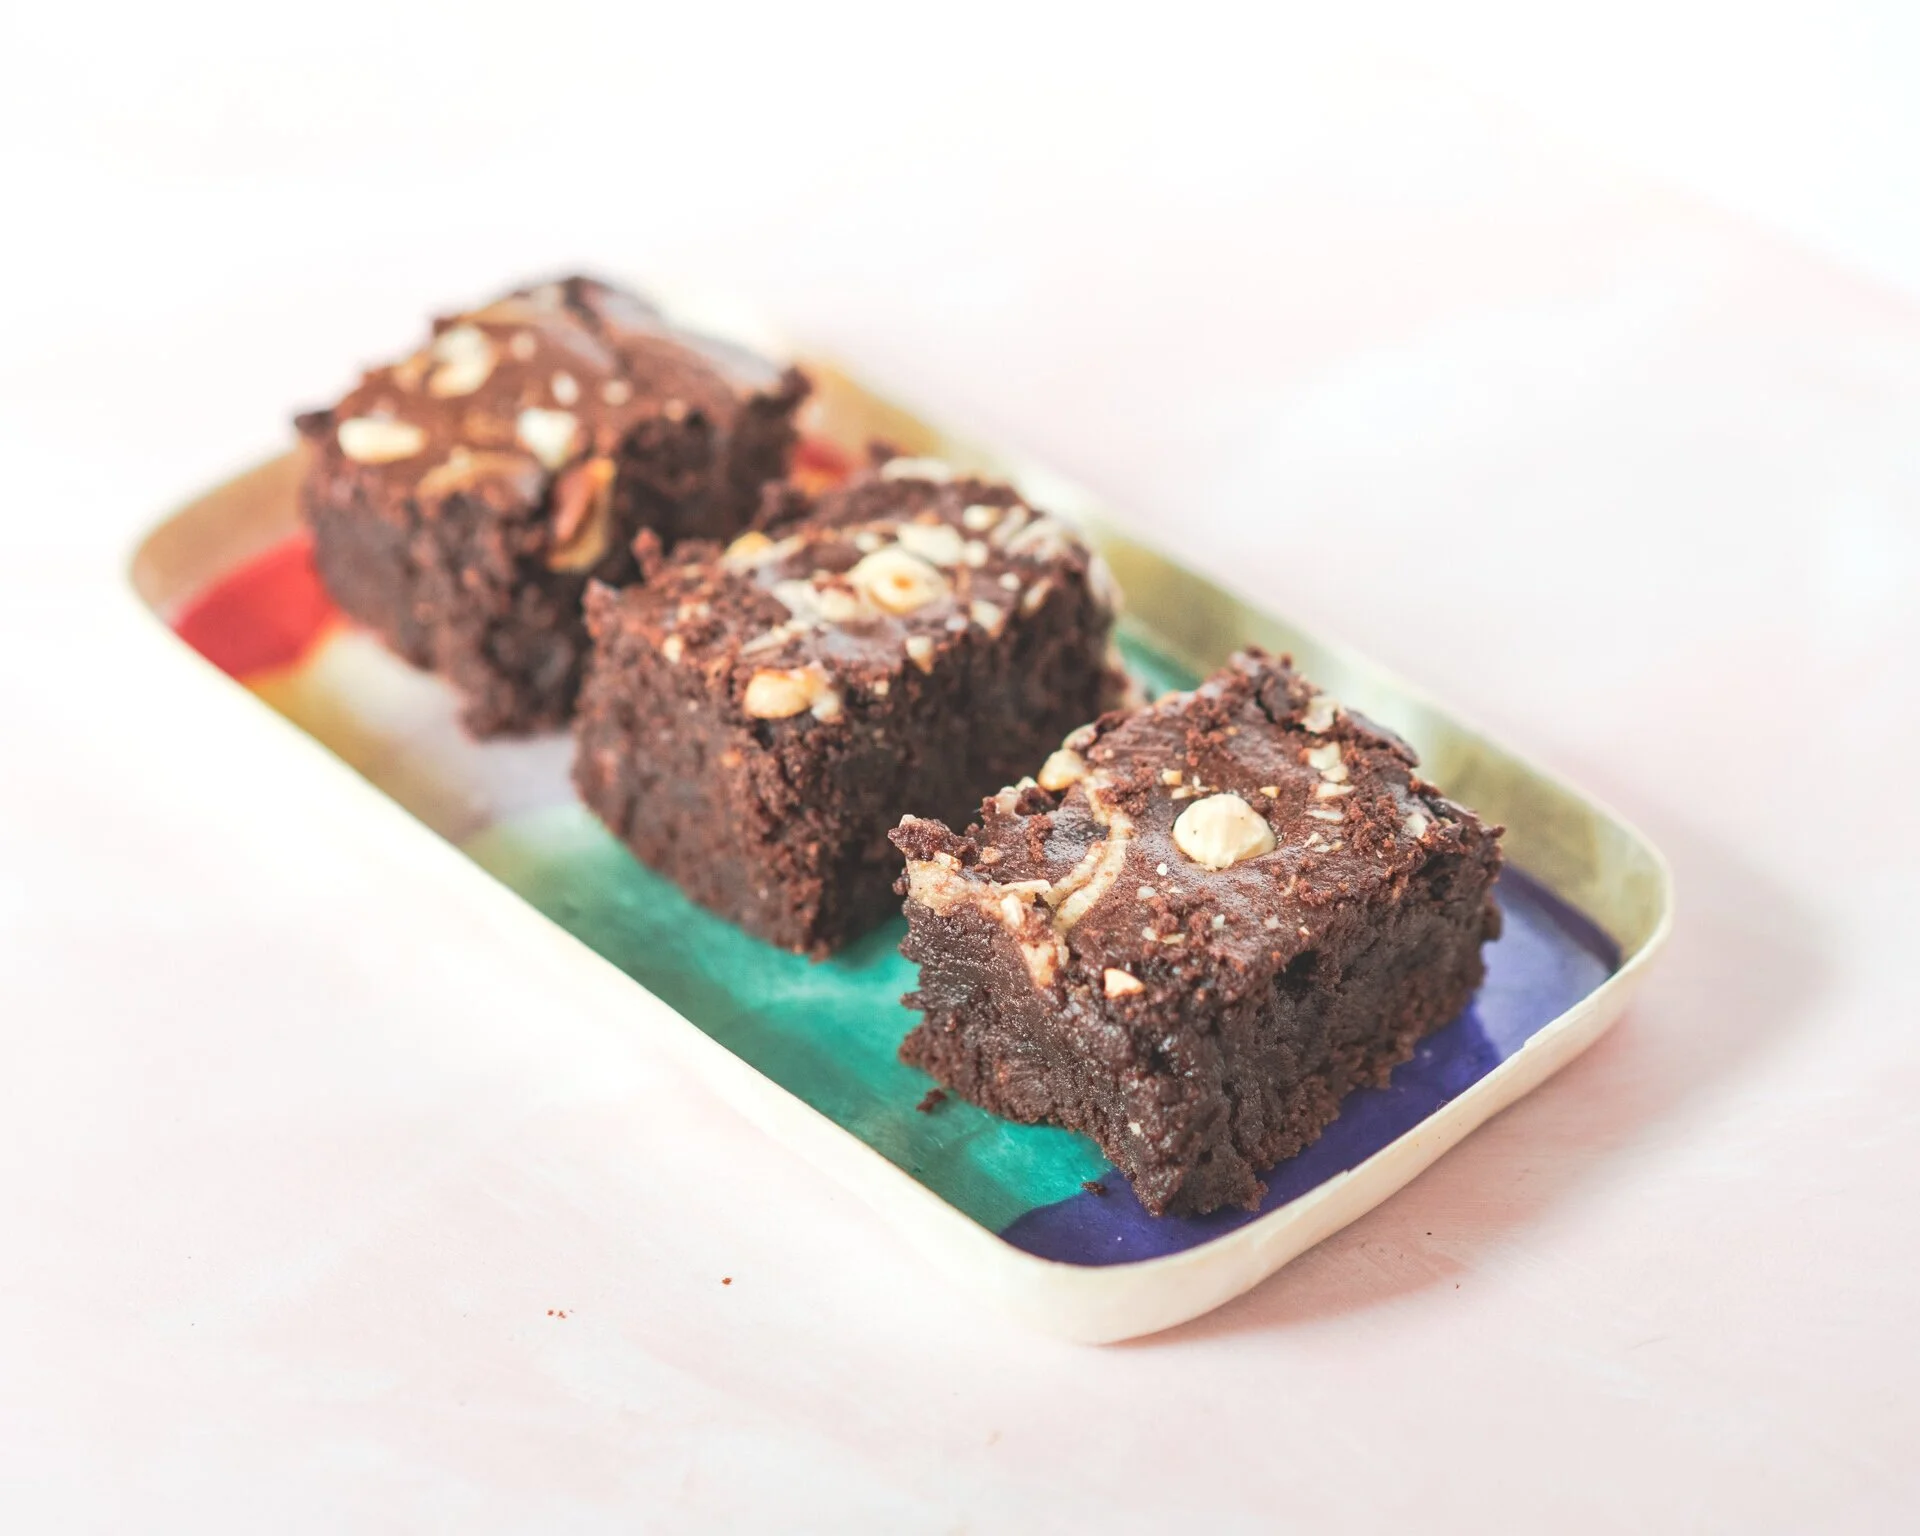
I think there’s a time and a place for pretty much every brownie. The cakey ones. The fudgey ones. The beany ones. The gooey ones. These ones are my favourite. It’s always the right time for these brownies. I would describe them as quite “grown up”. They have a rich, intensely chocolatey flavour that makes you want to close your eyes in gratitude. They’re gooey on the inside with a bit of bite on top. And they’re incredibly more-ish.

So let’s not be under any illusion. A brownie is not a salad. It is a treat. A sweet chocolatey treat. I haven’t made these entirely out of wholegrains and angel tears. But you can be sure they pack a tonne of nutritious and wholesome ingredients.
I talk about buckwheat quite a lot, because I love it. The flavour is unique and to me, it adds an extra something to baked goods. Of course, it is also highly nutritious. This humble seed (yep, it’s a seed, not a grain!) is rich in flavanoids (which help your body to function more efficiently whilst protecting it against toxins) as well as a whole host of vitamins and minerals. It’s a great option when it comes to baking without gluten.
If you’d like to use a different flour like wholewheat or spelt, substitute all of the buckwheat, oat and almond flour for 1 1/2 cups of your chosen flour. Of course the brownies will no longer be gluten free, but if that’s not an issue for you, they’ll still be great.

The secret ingredients in these brownies are miso and coffee. Both of which are difficult to pick out when you taste the final result, but do a great job of enhancing the rich chocolate flavour. Trust me.
Miso is a traditional Japanese seasoning made by fermenting soy beans (often along with other ingredients like rice or barley) and is more commonly used in savoury dishes. I use dark miso in my brownies but feel free to experiment with whatever you have.
I like to use roasted hazelnut butter in these brownies because I love it and it’s the nut butter I tend to make most at home. You could of course use any other nut butter in its place. The flavours of nut butters like peanut or hazelnut will come through into the brownie, whereas something like almond butter will just sit in the background.
I have gone all out and used not one but two classic vegan egg alternatives. One is my usual - flax eggs. I feel they do a great job at binding but also add their own special nutrients (particularly omega-3). I don’t think you can over-do it with the egg substitutes in vegan brownies, which is why I have also used whipped aquafaba. AKA the juice in a can of beans (chickpea juice is most commonly used). If this is your first time hearing that you can literally substitute eggs with chickpea juice in baking, then you are welcome my friend. 3 tablespoons of this stuff is generally used as a straight swap for an egg in vegan baking. You can even make meringues with aquafaba, should you be so inclined.
Before you go off googling. Let’s get back to the brownies, shall we?
Ingredients
wet
2 tablespoons ground flaxseed
5 tablespoons water
1 cup good quality dark chocolate chips or chunks divided into two half cups.
6 tablespoons coconut oil
1 tablespoon coffee dissolved into 2 tablespoons of water
1 tablespoon miso paste
4-5 tablespoons hazelnut butter (or nut butter of choice)
6 tablespoons aquafaba (juice from a can of chickpeas)
1 cup plant milk of choice
2 teaspoons vanilla extract
dry
3/4 cup buckwheat flour
1/2 cup gluten free oat flour (or gluten free oats blended into flour)
1/2 cup almond flour
1 1/4 cups coconut sugar or a mix of coconut and raw cane sugar
1 teaspoon baking powder
1/2 cup cacao
pinch of salt
1/4 cup toasted hazelnuts, chopped (or sub nuts of choice)
to go on top
1-2 tablespoons hazelnut butter
A little water
A few extra chocolate chips
A few extra hazelnuts
Method
Preheat your oven to 180°C (Fan 160°C)/156°F/Gas mark 4 and line a brownie tin with baking parchment. (Mine is 12 x 8 inches).
Begin by making your flax eggs. Mix ground flaxmeal and 5 tablespoons of water in a small bowl and set aside for at least 5 minutes, until gloopy.
Gently melt 1/2 cup of chocolate (reserve the other half which we will add in later) over a bain-marie.
Stir in coconut oil and allow it to melt in.
Dissolve miso paste into the coffee and mix until there are no lumps. Add this, the almond butter, vanilla extract and the flax eggs (when they are ready) to you the chocolate mix and stir well until combined.
In a separate bowl, using an electric whisk, whisk your aquafaba until it is white and very fluffy. This should take a few minutes. You don’t need to make stiff peaks but it shouldn’t be runny. When ready, set aside.
In a large mixing bowl, combine buckwheat flour, oat flour, almond flour, sugar, baking powder, cacao and salt and stir well to combine.
Make a small well in the middle and pour in your chocolate mix. When it becomes a bit too stiff to mix, pour in your milk and mix until smooth. No need to over-do it.
Carefully scoop out your aquafaba fluff, 1/2 cup of chocolate chips (or chunks) and your chopped hazelnuts and using a spoon, carefully fold these things into the mixture.
To fold, get your spoon to the bottom of the bowl and carefully pull the mixture from underneath and fold it on top. Repeat this, moving the bowl round until everything is combined and you can’t see any white. We are essentially combining these ingredients without mixing or beating to preserve the lovely air bubbles in the aquafaba.
Pour batter into your pan and smooth out the top.
Combine your hazelnut butter for the topping with just enough water to loosen it and make it creamy. Probably about 2 tablespoons but try a little at a time. Mix well because at first it will just separate, but keep at it and you’ll get a lovely creamy nut butter.
Plop dollops of the nut butter randomly onto the top of your batter and then use a skewer (or the handle end of a spoon) to swirl it around into the batter. Don’t do it too much our it will all just mix in. Go gently and don’t push your skewer in too far.
Sprinkle any extra nuts or chocolate chunks if you’ve saved some and the put in the oven and bake for around 25 minutes.
I find that after 25 minutes my brownies are just how I like them, extremely gooey in the middle. You can of course cook them for about 5 minutes longer if you’d like them firmer.
After removing from the oven, I recommend carefully putting your cake pan into another larger pan containing some ice water to cool it down quickly. This will stop the brownie from cooking further in the hot pan.
Leave for around 5 minutes and then turn your brownies out onto cooling rack. Give it some time to cool down before cutting as it will condense as it cools and become less fragile.
In my opinion these are best either fresh and warm or chilled, so I store them in an airtight container in the fridge.